Starting out in photography can be overwhelming with all the settings and options available on modern cameras. Whether you've just bought your first DSLR or mirrorless camera, or you've had one for a while but never ventured beyond auto mode, understanding these fundamental settings will help you take control of your camera and create better photos.
The Exposure Triangle: Aperture, Shutter Speed, and ISO
The foundation of photography is based on three key settings that work together to create a properly exposed image. Once you understand how these three elements interact, you'll be able to make creative decisions rather than letting your camera decide for you.
Aperture (f-stop)
Aperture controls how much light enters through your lens by adjusting the size of the opening. It's measured in f-stops such as f/2.8, f/4, f/5.6, etc. There are two important things to remember about aperture:
- The smaller the f-number, the larger the aperture opening (which lets in more light)
- Aperture affects depth of field - a small f-number (large aperture) creates a shallow depth of field (blurry background), while a large f-number (small aperture) creates a deep depth of field (more of the image is in focus)
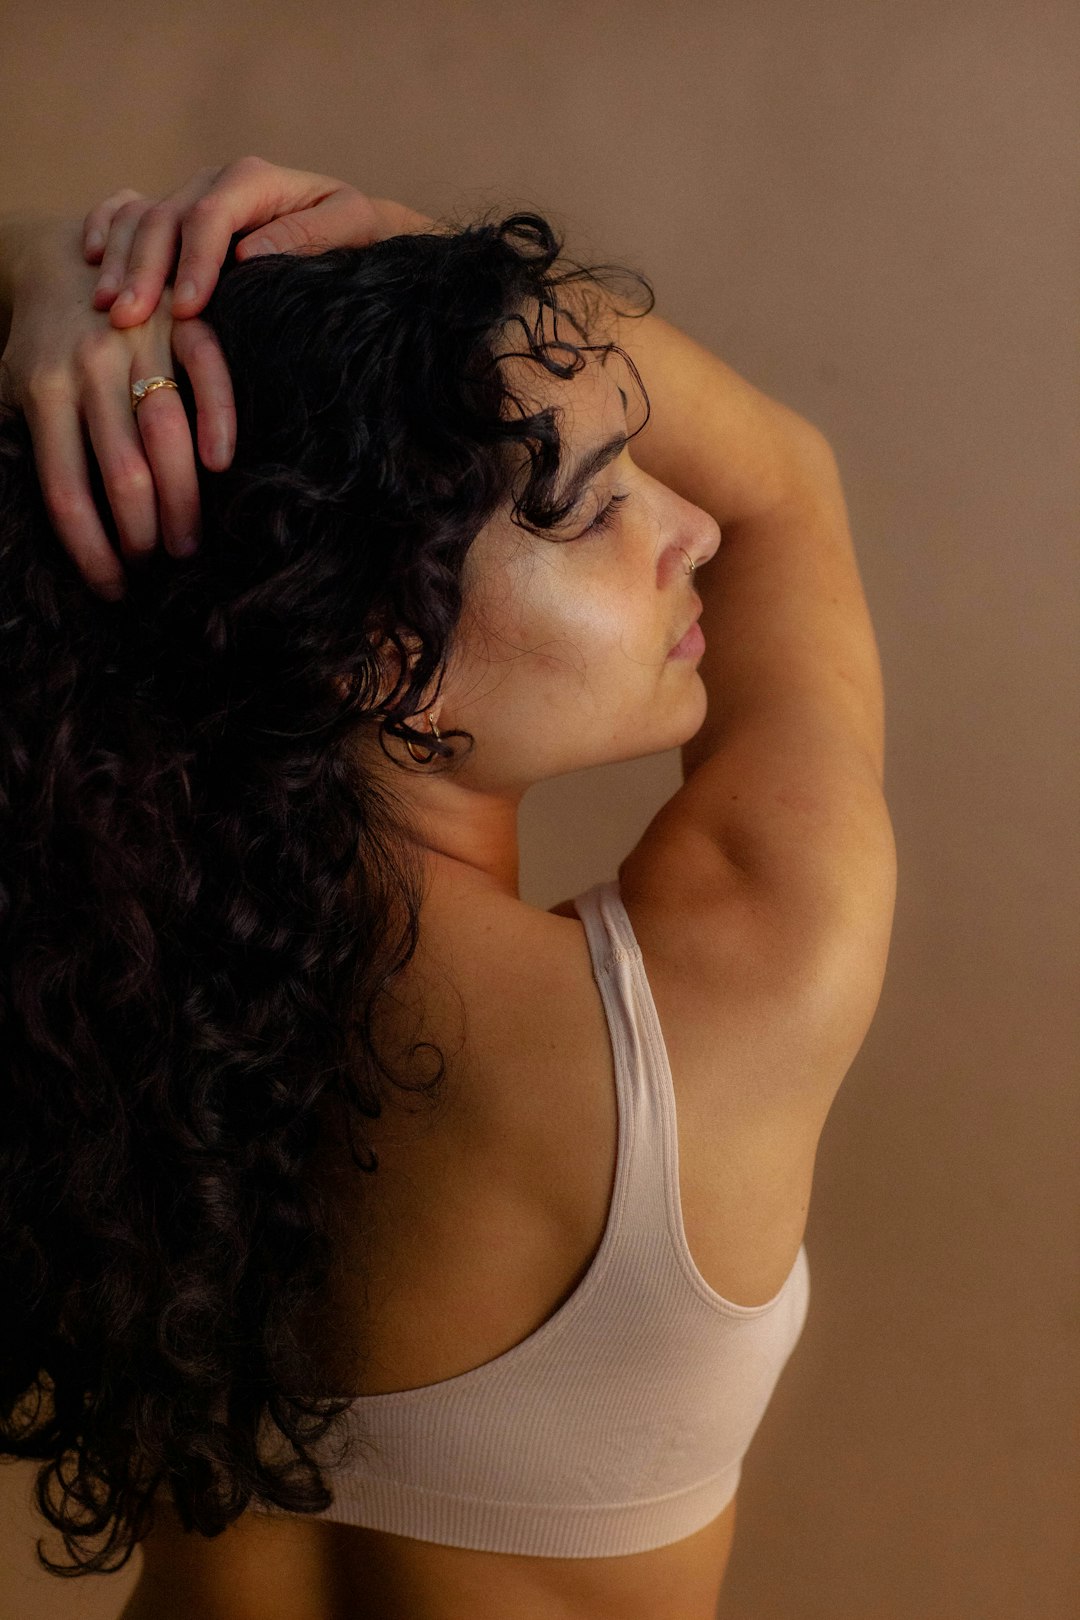
For portraits where you want to isolate your subject from the background, try using a wide aperture like f/1.8 or f/2.8. For landscapes where you want everything from foreground to background in focus, use a narrow aperture like f/11 or f/16.
Different aperture settings and their effect on depth of field
Shutter Speed
Shutter speed determines how long your camera's sensor is exposed to light. It's measured in seconds or fractions of a second (e.g., 1/60, 1/250, 1/1000). Shutter speed controls two important aspects:
- Exposure - longer shutter speeds let in more light, shorter shutter speeds let in less light
- Motion - fast shutter speeds freeze motion, slow shutter speeds create motion blur
For sharp handheld photos, a general rule is to use a shutter speed of at least 1/focal length. For example, if you're shooting with a 50mm lens, try to keep your shutter speed at 1/50 or faster. For moving subjects like sports, you might need 1/500 or faster to freeze the action.
ISO
ISO determines your camera sensor's sensitivity to light. Lower ISO values (like 100 or 200) mean less sensitivity, while higher values (like 1600 or 3200) mean more sensitivity. There's an important trade-off:
- Lower ISO = less sensitivity to light = cleaner images with less noise
- Higher ISO = more sensitivity to light = more digital noise or grain
Always aim to use the lowest ISO possible for the lighting conditions. In bright daylight, ISO 100-200 is ideal. In dim indoor settings, you might need ISO 800-3200 to maintain proper exposure with acceptable shutter speeds.
White Balance
White balance adjusts the color temperature of your images to make sure whites appear truly white (not orange or blue). Different light sources have different color temperatures:
- Daylight/Sunny - neutral
- Cloudy/Shade - cooler (more blue)
- Tungsten (indoor bulbs) - warmer (more orange)
- Fluorescent - often has a green tint
Most cameras have white balance presets for these common lighting situations. When you're starting out, using the appropriate preset for your environment will help ensure natural-looking colors. As you advance, you might want to try setting a custom white balance or adjusting in post-processing.
Focus Modes
Understanding your camera's focus modes is crucial for getting sharp images:
- Single-shot AF (AF-S or One-Shot AF) - locks focus when you half-press the shutter button. Best for stationary subjects.
- Continuous AF (AF-C or AI Servo) - continuously adjusts focus as long as you hold the shutter button halfway. Best for moving subjects.
- Auto AF (AF-A) - automatically switches between the two modes based on whether the camera detects motion.
- Manual Focus (MF) - you control focus using the focus ring on your lens.
For landscape photography or still life, Single-shot AF works well. For sports, wildlife, or children playing, Continuous AF is usually the better choice.
Metering Modes
Metering is how your camera measures the brightness of your scene to determine the proper exposure:
- Evaluative/Matrix Metering - measures light across the entire frame, weighted toward the focus point. This is the default and works well for most scenes.
- Center-weighted Metering - prioritizes the middle of the frame.
- Spot Metering - measures only a small area around your focus point. Useful for high-contrast scenes or backlit subjects.
Start with Evaluative/Matrix metering for most situations, and experiment with Spot metering when you have challenging lighting conditions.
Putting It All Together: Shooting Modes
While learning these settings, it can be helpful to use semi-automatic modes:
- Aperture Priority (A or Av) - You set the aperture, and the camera sets the shutter speed. Great for controlling depth of field.
- Shutter Priority (S or Tv) - You set the shutter speed, and the camera sets the aperture. Useful when capturing motion is your priority.
- Program (P) - The camera sets both aperture and shutter speed, but you can shift the combination. More flexible than Auto.
- Manual (M) - You control everything. This gives you complete creative control but requires understanding all the settings.
When you're starting out, Aperture Priority is often the most useful mode as it lets you control depth of field while the camera handles exposure. As you become more comfortable, you can transition to Manual mode for complete control.
Practice Makes Perfect
The best way to learn these settings is to practice regularly. Try these exercises:
- Take photos of the same subject with different apertures to see how depth of field changes
- Photograph a moving subject with different shutter speeds to see how motion is captured
- Take photos in different lighting conditions and observe how ISO affects image quality
Remember that photography is a journey, and mastering these fundamentals takes time. Don't be afraid to experiment and make mistakes - that's how you'll learn and develop your own style!
Ready to Take Your Photography to the Next Level?
Check out our photography workshops or schedule a one-on-one session to master these techniques in the field!
Contact Us